
TERJEBAK DI RUMAH ATOK Survival Tier Lists
Ranked lemari spots, key priority, and tactics for lasting until the sunrise escape.
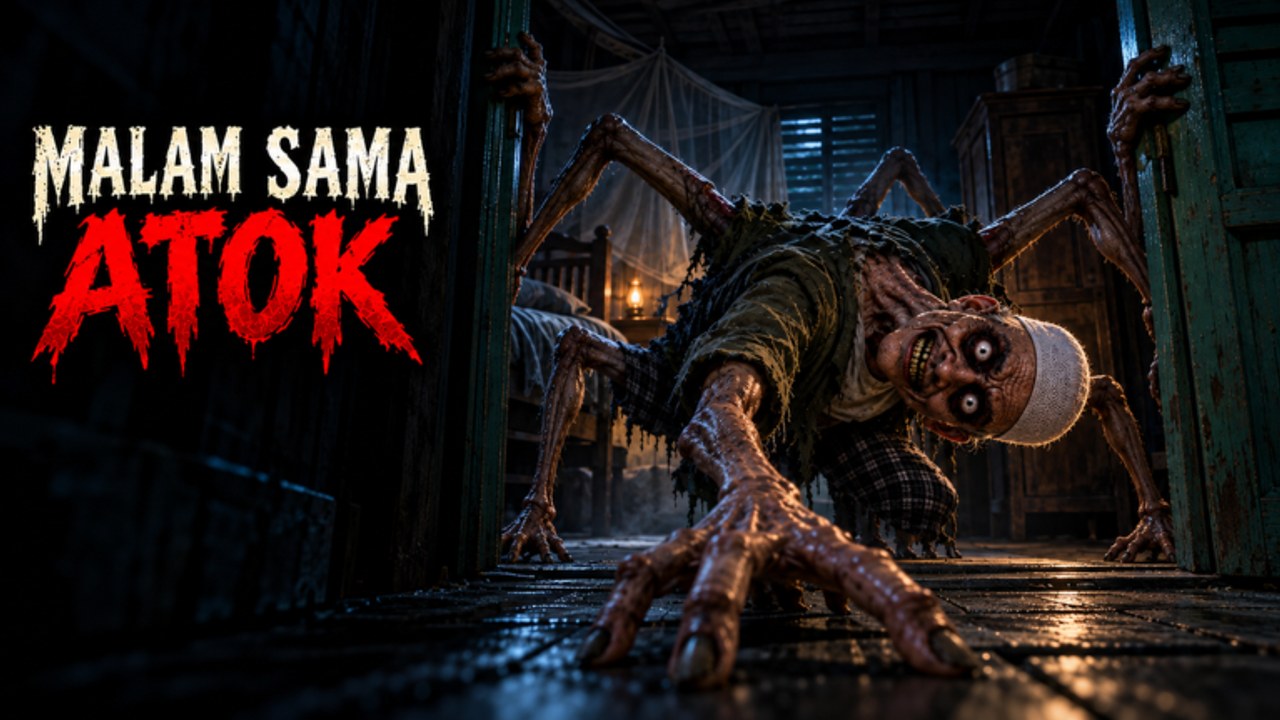
This Tier List Hub ranks the decisions that keep you alive in [BAB 2] MALAM SAMA ATOK (Terjebak Di Rumah Atok): which lemari are worth trusting, which kunci spends come first, and which survival tactics belong in S-tier when Atok goes laba-laba. Rankings reflect fair-play experience, community consensus themes, and patch-sensitive judgment — not pay-to-win power levels.
Use this page with how to hide, how to escape, and Players behavior notes. After major changes, confirm details on the Updates Hub.
Ranking criteria
We score options on:
- Safety — how often the choice saves a chase
- Tempo — whether it helps you still finish the sunrise escape
- Consistency — works in solo and messy 25-player lobbies
- Forgiveness — survives small misplays and chip damage
- Patch resilience — less likely to vanish when props shuffle
S-tier is “default this when unsure.” C-tier is “situational or bait.”
Hide spots tier list (lemari & cabinets)
S-tier hides
- Pre-scouted wing cabinets with two exit vectors — enter clean, leave toward a second hallway, never the bait loot.
- Off-foyer furniture clusters — close enough to rotate, far enough that spawn congestion does not steal your prompt.
- Dark-adjacent lemari near a corner break — line-of-sight dies before Atok finishes the check animation.
A-tier hides
- Single strong wardrobe on a side room loop — excellent if you already cleared the loop’s second spot.
- Cabinet pairs across a short hall — classic bait-and-rotate for players who mastered controls prompts.
- Late-game hides near the escape path — only S-tier during finale windows; A-tier earlier because traffic rises.
B-tier hides
- Popular foyer / obvious first cabinets — work once per lobby, then become contested traps.
- Dead-end alcove furniture — fine if Atok is far; fatal if he enters the alcove with you.
- Loot-room wardrobes you have not timed — unknown dwell windows.
C-tier hides
- Same lemari twice in one pressure wave — teaches your pattern.
- Furniture Atok just scanned — double-check city.
- Triple-stacking teammates in one cabinet — prompt fights, noisy exits, highlight magnets.
Drill S and A spots using the routine on how to hide. ESP wardrobe scripts skip this learning and risk bans — see Scripts.
Key priority tier list (kunci)
Community chatter often references roughly four mangga-style keys. Exact names can differ by patch; priority logic stays:
S-tier spends
- Keys that open new progress wings required for the escape chain
- Keys that unlock padlocks gating multiple objectives behind one door
- Keys spent when you already have a hide rotate armed nearby
A-tier spends
- Keys that shorten backtracking dramatically without skipping safety scouting
- Keys used in duo/trio when a watcher covers sound
B-tier spends
- Convenience rooms with minor loot and no finale relevance
- Early vanity doors opened “because we found a key”
C-tier spends
- Duplicate opens when a teammate already cleared the wing
- Panic spends mid-chase with Atok in the same hallway
- Following Opah/Nenek key advice inside Atok’s house (wiki overview clarifies the different games)
Banking a kunci is often higher elo than forcing a B-tier door. Confirm finale needs in how to escape.
Survival tactics tier list
S-tier tactics
- Headphones + walk scouting before first deep loot
- Hide scouting before key greed
- Rotate hides after each break
- Reset after chip damage before finale prompts (tight series-style health)
- True callouts only in multiplayer
A-tier tactics
- Role splits (scout / carrier / watcher) in small stacks
- Quiet regroup before sunrise commit
- Reviewing one death per session against Players tells
- Checking Codes once in lobby, not during chase
B-tier tactics
- Pure sprint kiting without a hide plan
- Loud voice comedy during first hunts
- Learning exclusively from unrelated Opah VODs
C-tier tactics
- Executor dependence as your only map teacher
- Fake callouts
- Taunting Atok in open foyers for clips while holding the last key
- Ignoring Updates after a prop move
How to use these lists mid-run
- If chased → pick an S/A hide, not the nearest C bait.
- If holding two keys → spend only on S/A padlocks.
- If tilting after a hit → S-tier reset tactic, not hero sprint.
- If teaching a friend → start them on Getting Started plus S-tier tactics only.
Patch caveat
Furniture density and key labels can shift. When Arkbility ships changes, we adjust ranks and note them under Updates. If a formerly S-tier cabinet feels cursed after a Tuesday patch, trust your session data and report patterns in your own notes.
Video reference
The embedded clip shows heavy Atok pressure — use it to judge whether a hide choice was S-tier patience or C-tier freeze. Pause on each furniture decision.
Related hubs
- Guides Hub — full walkthroughs
- Players Hub — anomaly behavior that breaks bad tiers
- Scripts Hub — why ESP is not an S-tier life plan
- Codes Hub — perks that never replace ranks
Tier lists in horror escapes are about decision quality under fear. Pick S-tier hides, spend kunci like they are rare, and keep tactics boring enough that sunrise still happens.
Frequently Asked Questions
Quick answers to the most common questions.
What does this Malam Sama Atok tier list rank?
Hide spots (lemari), kunci spend priority, and survival tactics from S-tier to C-tier for fair-play runs.
Is S-tier the same for solo and full lobbies?
Mostly, but contested foyer cabinets drop a tier in busy 25-player sessions. Prefer off-foyer clusters with two exits.
Should I always spend keys immediately?
No. S-tier play often banks kunci until padlocks on the escape path are identified.
Do scripts change the tier list?
ESP can reveal spots and keys, but it is not a fair-play rank and risks bans. Learn S-tier habits without it.
Will ranks change after updates?
Yes when furniture or objectives shift. Check the Updates Hub after patches and adjust your personal notes.